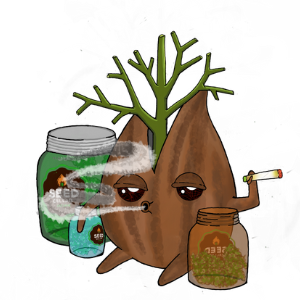


Super Natural Seeds – NEW TO THE SEED CELLAR
Check out the brand new line of Super Natural Seeds here at the Seed Cellar! A line of gorgeous plants with phenomenal potential *wink wink* that have amazing yields.
Super Natural Seeds sprouted from a bank of female gardeners working collectively to create a line of quality seeds for amazing prices! Every seed is organically grown without pesticides in ways that lessen the environmental impact, packaged in recyclable materials, hand picked, and stored in a completely controlled environment to ensure total freshness.
Feminized Auto Flowering Seeds 5 Packs:
- Supernova AUTO ($50.00)
- Indica Dominant
- Big Bud x Power Plant x Og Kush Auto
- Rocket Fuel AUTO ($50.00)
- Hybrid
- Chemdawg x Jack Herer x Biodiesel Mass Auto
- Cosmic Cupcake AUTO ($50.00)
- Indica Dominant
- Ice Cream Cake x Cherry Cheesecake Auto
- Galactic Grape AUTO ($50.00)
- Sativa Dominant
- Purple Thai x Grape Gushers Auto
Feminized Photoperiod Seeds 5 Packs:
- Apple Tart ($50.00)
- Sativa Dominant; High Potential
- (Sour Diesel x C99) x Animal Cookies x Gelatti
- Biscotti Lime ($50.00)
- Indica Dominant; High Potential
- Biscotti x California Sour x Gelato
- Black Cherry Crush ($50.00)
- Indica Dominant; High Potential
- Black Sugar x Forbidden Fruit x Cherry Runtz
- Frozen Melonz ($50.00)
- Sativa Dominant
- Melon Gum x Watermelon Zkittlez x Iced Grapefruit
- Glookie Monster ($50.00)
- Indica Dominant; High Potential
- Thin Mint GSC x OG Kush X Gorilla Glue
- Ice Cream Cake ($50.00)
- Indica Dominant
- Wedding Cake x Gelato #33
- Moon Mintz ($50.00)
- Hybrid; High Potential
- Kush Mints x Gushers x Blue Moonrock
- Pink Lemon Punch ($50.00)
- Sativa Dominant; High Potential
- Pink Panties x Raspberry Sorbet x Chemdog
- Raspberry Runtz ($50.00)
- Indica Dominant
- Raspberry Kush x White Runtz x Space Cake
- Slusherz ($50.00)
- Indica; High Potential
- Slurricane x Gushers
- Sour Orange
- Sativa Dominant; High Potential
- Clementine x Orange Sherbet x Tangie
- U.F.O.G. ($50.00)
- Indica; High Potential
- Alien OG x Starkiller x Skywalker Kush
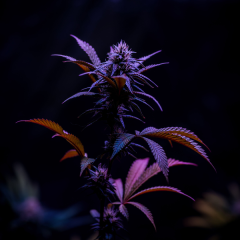
Super Natural Seeds are selling out fast, don’t miss out on fantastic genetics from an affordable, sustainable source.